1. Welcome
This guide is written for everyday users. You do not need technical knowledge to use it.
You will learn how to:
-
sign in
-
create and send requests
-
sign or review requests
-
manage your profile and signature card
-
manage team settings like members, billing, API keys, and webhooks
2. What You See After Login
After sign-in, you land on the main app.
The left menu is your main navigation.
The upper-right area gives quick access to the app switcher, profile, settings, language, theme, and notifications.
Use the app switcher to jump between Sign, Conversations, Contacts, and Collections.
The root page shows the public help assistant chat field below the top navigation.
Use the language selector on the root page to switch the public assistant heading, prompt field, action labels, suggested question chips, and assistant answers between the supported languages.
The chat stays only on the current page view. Refreshing or leaving the page clears it.
When the public documentation maps to a known app workflow, the assistant includes a direct app link, such as Create a new signing request linking to /sign/requests/new.
The public help assistant answers only from public BlindVault documentation. It cannot inspect encrypted documents, channels, messages, signing requests, account data, or workspace content; for those private questions, install and pair the local BlindVault Agent.
The desktop left navigation uses a slimmer rail so the main workspace gets more horizontal room.
Menu items:
-
Home: public help assistant -
Inbox: requests waiting for your action -
Sent: requests you sent to others -
Conversations: encrypted conversation threads and linked updates -
Contacts: people found through accessible requests, templates, conversations, and memberships -
Collections: encrypted file collections with explicit sharing -
Drafts: unfinished requests -
Templates: reusable request layouts -
New request: start a new signing request
The bell icon in the upper-right shows unread notifications for invitations, completed requests, and team updates.
Open it to jump straight to the related request or profile area.
User-originated message notifications can also open a dedicated message thread directly.
@ mentions in conversation messages create their own in-app notification entry, so the recipient sees a separate alert in the notification menu when they next open BlindVault.
You can also mark notifications as read or unread, delete a single notification, or clear all read notifications directly from the notification menu.
Notification delivery stays in the bell menu for now. Push and toast delivery are disabled in this release.
The header now keeps a large centered search box that opens the universal search palette with Ctrl+K, so you can jump across requests, threads, workspaces, and contacts from one place.
Search fields use a magnifying-glass icon on the left and show a clear button on the right when text has been entered.
On signing request pages, the request name, tag, and page actions now appear in a page header directly below the top nav instead of inside the shared header bar.
When you first open the palette, it already shows your contact-scoped people results alongside recent requests, threads, and workspaces, so you do not need to type before opening a person.
On desktop, selecting a contact in search opens a contact card with quick actions. On smaller screens, the same contact opens in its own page.
The Contacts app at /contacts uses a full-width table like the Sign inbox. You can search, filter by profile status, sort the table, and open the row menu for direct message, new channel, and profile actions. Contact profile URLs use the contact id, such as /contacts/{id}, rather than the email address. You can also share your full contacts list with specific users or paired agents as read-only or read/write, and those recipients can use the list accordingly. Chat contact-count requests now report the owner’s contact count directly when the owner is known.
The Agents page at /agents also uses the inbox-style full-width table. You can search, filter by connection state, sort paired agents, and use each row’s menu to open details or start a direct message. Open Details to manage chat and disconnect actions on /agents/{id}.
The Collections app at /collections provides flat encrypted collections for secure file storage and sharing. Each collection can hold files without folders or nested trees. You can create an empty collection without creating keys first. When you upload the first encrypted file, BlindVault opens the usual passphrase dialog to create the collection key if needed and then continues with the upload. You can open a specific collection at /collections/{id}. From the collection page you can also rename the collection, delete an empty collection, and invite users or paired agents with read-only or read/write access.
Collections are encrypted in the browser before upload. The owner keeps the collection key locally, and BlindVault wraps that key for each invited recipient. If a recipient has a public key on file, the collection can be shared immediately.
If a paired local agent has access to the collection, you can ask it to list the files in a collection by name, such as List the files in collection testcc.. To summarize one file, include the filename, such as DailyTradeReport.20260520.pdf, and the collection name, such as in the testee collection; the agent will use both pieces of text to look up the matching Collections file and then return a local summary of the decrypted file text.
On supported mobile app builds, BlindVault can also register your device for push notifications so important request updates open the related screen directly.
The mobile companion app focuses on inbox, notifications, request tracking, signing or review actions, basic profile/security access, and template-first request creation rather than full desktop authoring.
Long request names are shortened in tight UI areas like headers, activity cards, and tables so the layout stays usable.
Conversations now opens the Channels list directly.
Channels is the only conversation surface. It opens as its own page rather than under the generic new route.
The channel page uses the same split-pane layout as Sign requests: a large central workspace panel and a smaller right-side panel for participants and channel controls.
The submit action for channel creation lives in the top header, matching the Sign create flow. The participant field also uses an explicit Add participant button.
Standalone direct message creation requires one valid recipient email address and does not ask for a title; BlindVault displays the conversation by participant instead. When you open direct message creation from a contact or agent action, the recipient is already selected and the add-recipient field is hidden.
The Conversations dashboard is a lightweight app landing page with direct cards for Channels, New channel, and linked activity.
It also includes a Smart filters & saved views strip and a Recent Conversation Channels table for quick browsing.
The overview tiles on both the Conversations and Sign dashboards are clickable, and clicking a tile applies the matching filters to the table below.
Use the Channels item under Conversations to open the full encrypted channel table, where you can switch between active and archived channels and archive, unarchive, or delete a channel from the row menu.
Invitee channels stay visible to the invited participant even if the stored participant email casing differs from the account email.
The channel table uses the same compact row layout as the inbox table, so rows open directly and the overflow menu holds secondary actions.
Each channel row has an actions menu for channel-specific shortcuts.
The channel detail view also includes a narrow middle rail on desktop so you can jump between recent channels without leaving the current conversation.
Open channel views receive new messages live while the channel stays open, so participants do not need to reload the page manually to see new replies. If the websocket disconnects, BlindVault still falls back to refresh polling. The notification bell also updates from the same live event stream, so unread counts stay current without a full page reload.
If a recipient has no public key yet, the conversation is still created, an invitation email is sent, and BlindVault fills in that participant’s key automatically once it becomes available.
The participant details dialog and your own profile avatar show each person’s current profile state as a small dot on the avatar, using their live availability status from the profile payload. In a channel, you can click a participant’s name or avatar to open the same contact card used by universal search, and that card shows the same status badge on the profile image. Message sender avatars stay plain.
Your own sent messages show WhatsApp-style delivery ticks in the bottom-right corner of the bubble: one tick while the send is in flight, two ticks once the server accepts it, and blue double ticks when another participant has read them.
Replying to a message shows a WhatsApp-style reply banner above the composer with the quoted sender and snippet, and you can cancel it before sending.
The quoted message preview includes an icon button to jump back to the original message.
After you send a message, the channel view scrolls to the new message automatically so it stays in view.
When you open an encrypted channel, BlindVault asks you to create or unlock your own private key in an in-app passphrase dialog. It does not ask recipients for the sender’s signing-process passphrase.
If a paired local agent cannot decrypt or generate a reply, the channel shows the agent reply failure with the specific local error, such as a conversation-key sync problem, instead of a generic blank failure.
When a paired local agent posts a reply, the message text now reveals itself with a short typewriter animation instead of appearing all at once.
When a paired local agent sends a calendar invite from a message like "send an email to me with an invite", BlindVault resolves "me" to the message sender email. The agent does not use placeholder addresses suggested by the language model.
Workspace-linked channels are no longer part of the regular workspace workflow. Standalone channels are separate, and workspace references stay in the message text.
When you add recipients on New request, BlindVault starts suggesting matching contacts after the third typed character. You can search by email address or by the contact’s first and last name. Suggestions combine registered users with recipients from signing processes you can still access.
In New request, clicking a recipient’s avatar or name opens the same contact card used by universal search.
When BlindVault knows the matched contact’s profile image, the recipient panel shows that avatar instead of initials.
In a completed signing request view, the participant list still shows avatars and the participant name opens the same contact card.
Inside that contact card, Open latest channel takes you to the most recent shared channel with that participant.
Resolvable signing-process references in message text, such as #SP-2W5S-KPSM, #S-2W5S-KPSM, or #2W5S-KPSM, open the related request as links.
In new messages and channel replies, type @ to mention people from your BlindVault contact suggestions. Use the up and down arrow keys to highlight a suggestion and press Enter to insert it. BlindVault stores the mention target as metadata, even if two people share the same display name.
You can also use @channel to notify everyone in the channel and @here to notify only currently active participants.
People mentions render as clickable chips in the message view, so you can open the contact card directly from the message body.
New channel, reply, and inline edit boxes also include a basic formatting toolbar for bold, italic, strike, code, links, and simple lists.
Links now render visually while you type, so the editor shows the linked label instead of raw markdown syntax.
Message composers include View message and Edit message states. Editing is a plain markdown text editor where syntax such as bold remains visible. Use View message to preview the rendered message without changing the draft, then return to editing when needed.
Each channel message also has its own permalink. Use Copy link on a message to reopen and highlight that exact reply later.
For messages you sent yourself, BlindVault also shows inline Edit and Delete actions directly on the message card.
While editing one of your own messages, you can add more files or remove existing attachments before saving.
Image attachments in channel replies and edits now show an inline preview thumbnail before you send the message.
You can send a channel reply with attachments only, even when the message body is empty; image and video attachments render as preview cards with a download action.
Use the Reply button on any message to attach a structured reply target before you send your response.
Deleting your own message opens a themed in-app confirmation dialog instead of a browser pop-up.
Each channel also has a private note area in the sidebar. That note is encrypted separately and only visible to you.
When you send a reply, BlindVault shows your outgoing message immediately in the channel, then keeps syncing it in the background until the encrypted send finishes. The send button uses a small spinner while the actual post is in flight, so key preparation does not leave the UI looking stuck.
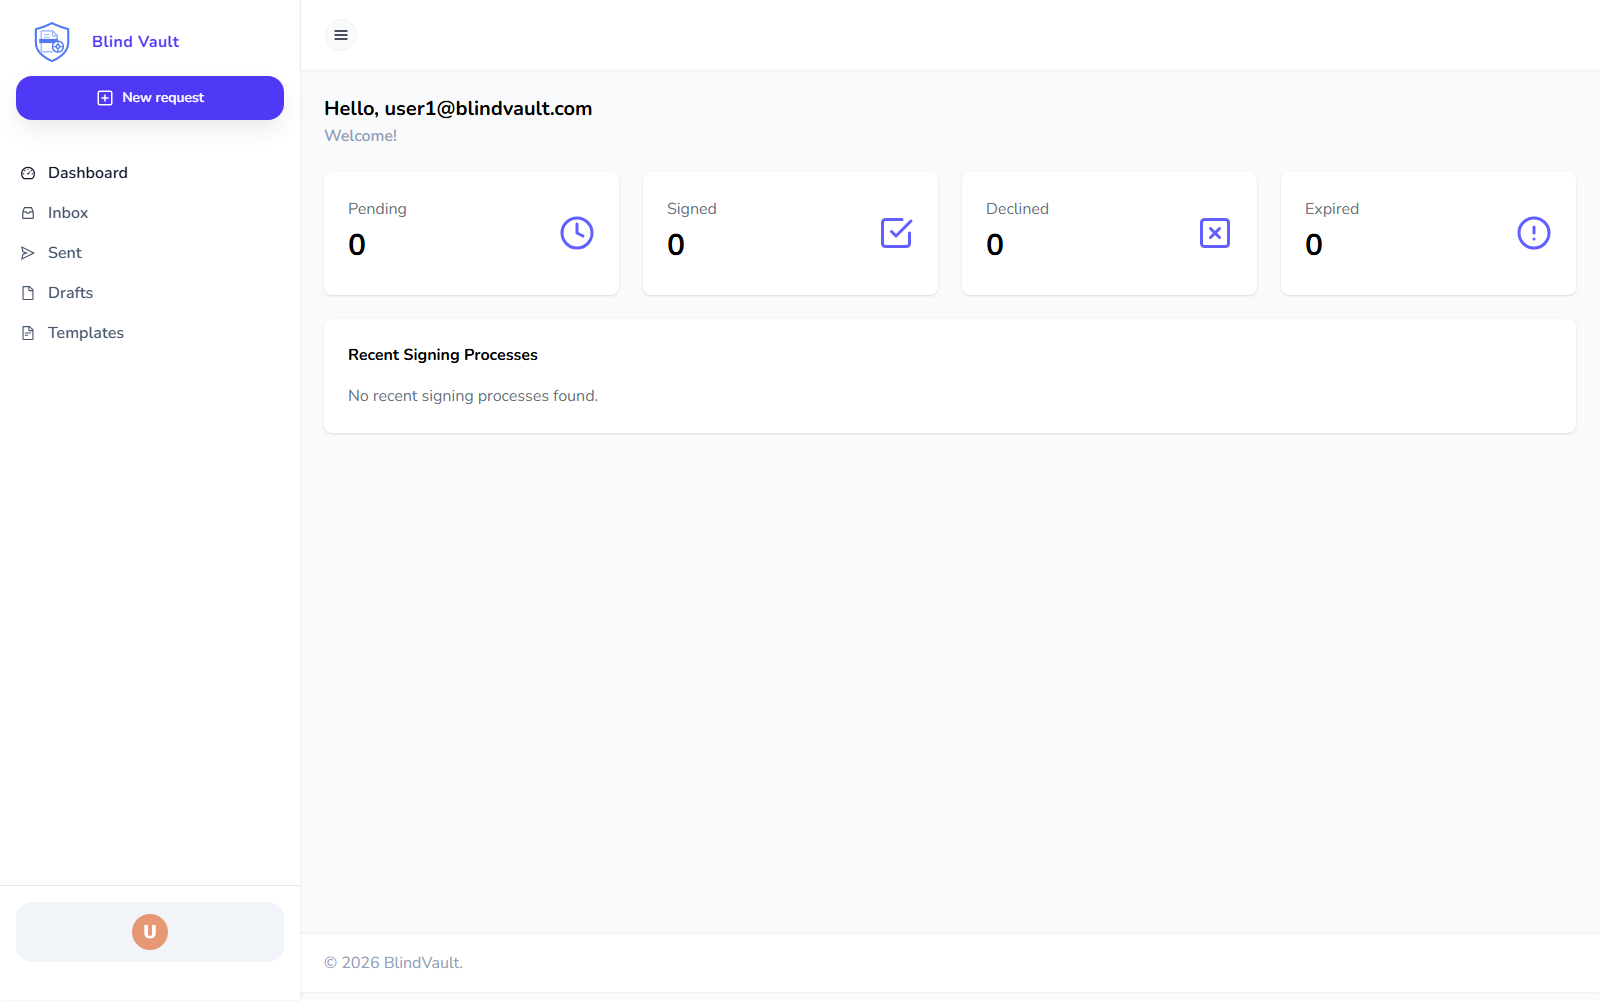
3. Dashboard
The root dashboard is now a lightweight public help assistant entry point. It opens without the signing sidebar, so the home route stays neutral and full-width.
You can:
-
review the combined
Todaysummary -
review conversation tasks inside the
Todaycard -
review the seven-day trend graphics for
SignandConversations -
review recent activity across both workspaces
Detailed request metrics, grouped Received / Sent overview cards, and the Recent Signing Processes table now live on the dedicated Sign dashboard.
Detailed encrypted channel activity, grouped Linked / Standalone overview cards, and the Recent Conversation Channels table now live on the dedicated Conversations dashboard.
4. Start A New Request
Click New request in the left menu.
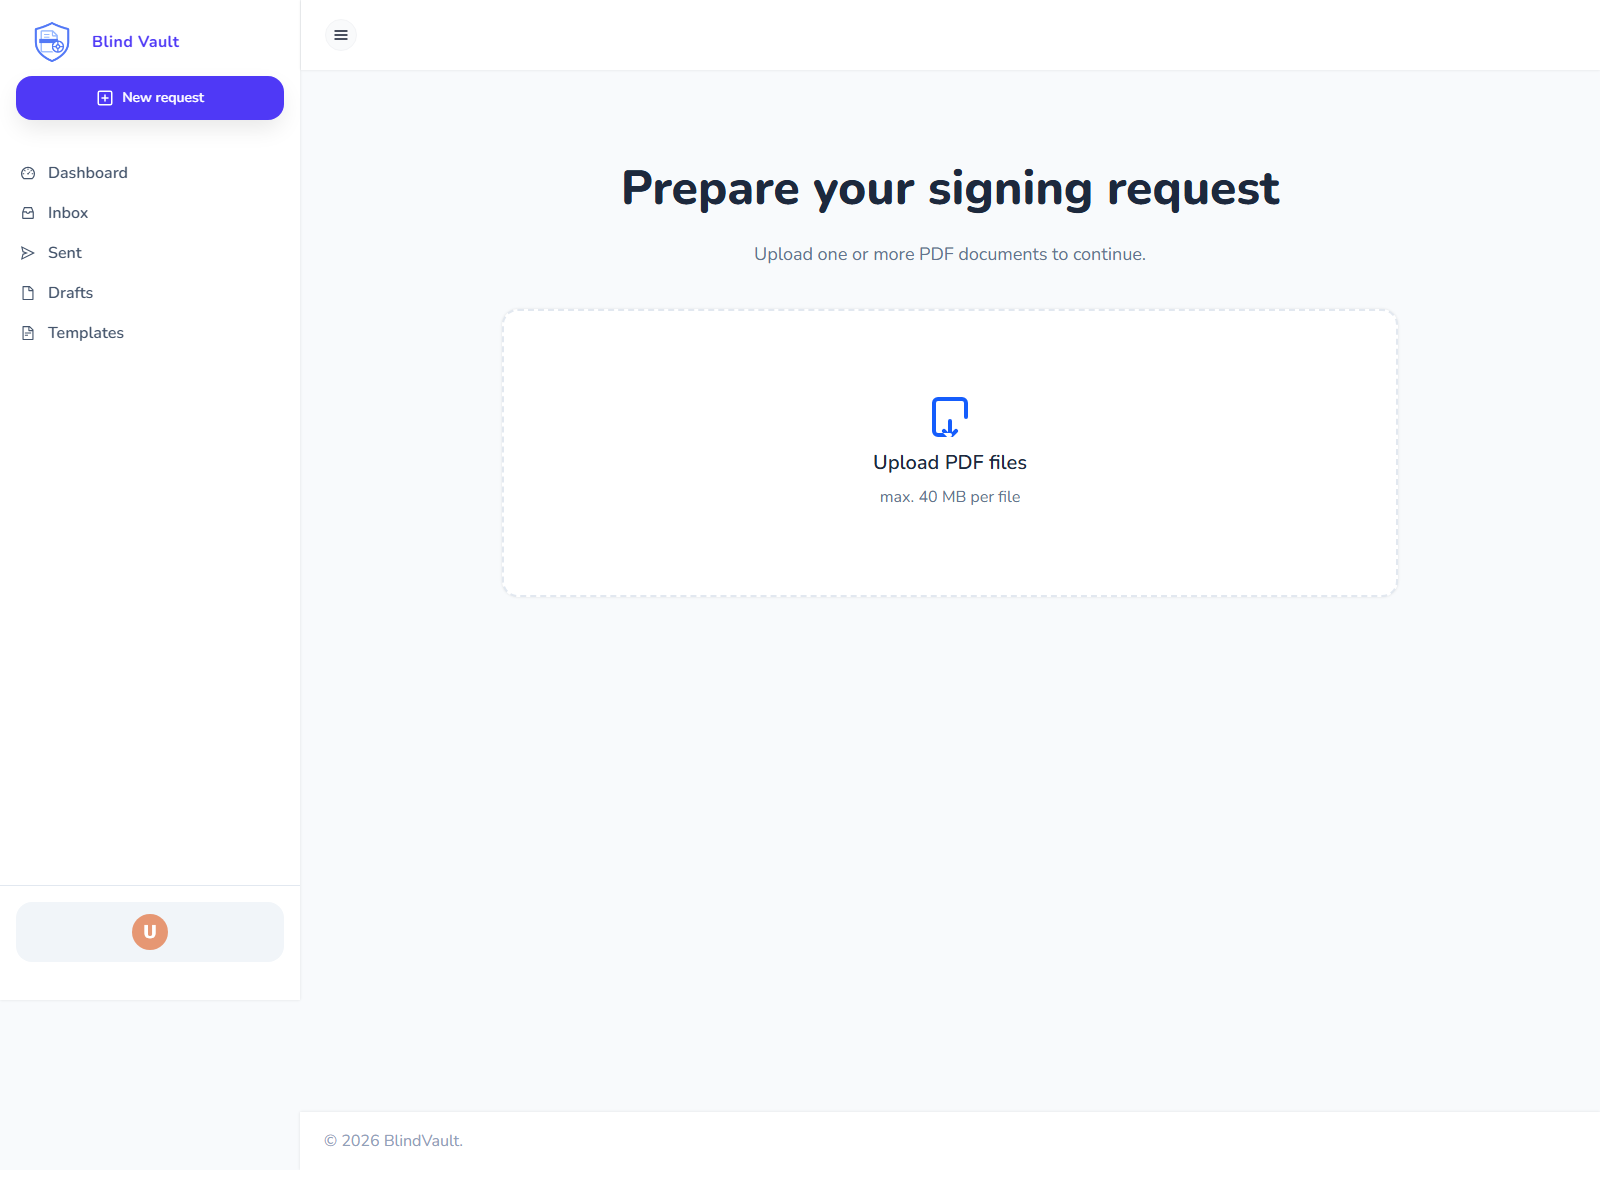
4.1. Step 1: Upload your file
-
Drag and drop a PDF into the upload area, or click to choose a file.
-
Wait for upload to finish.
4.2. Step 2: Add recipients
You can add people as:
-
Signer: signs the document
-
Reviewer: approves or rejects
-
Observer: can view only
-
Host signer: for in-person signing sessions
4.3. Step 3: Place fields
Add fields on the PDF (signature, text, checkbox, date, dropdown). Assign each field to the correct person. If you mark a field as read-only, BlindVault automatically keeps that field required.
4.4. Step 4: Save or send
-
Save as draft if you are not ready.
-
Save as template if you will reuse this setup.
-
Send when everything is complete.
-
In sequential signing, BlindVault emails only the current recipient. The next recipient is invited after the current one completes their step.
-
If sending is blocked, for example because the selected organisation has no credits left, BlindVault stays on the editor and shows the backend error so you can fix the issue and try again.
4.5. Mobile companion request creation
In the mobile companion app, New uses a template-first flow instead of freehand field placement.
-
Open
Newfrom the mobile bottom navigation. -
Choose an existing template.
-
Continue in the editor with the template layout already applied.
Create templates in the full web app first if you want to start requests from mobile.
5. Drafts
Drafts are requests you saved but did not send yet.

Use Drafts to:
-
continue editing
-
delete old draft work
6. Templates
Templates help you avoid repeating setup.
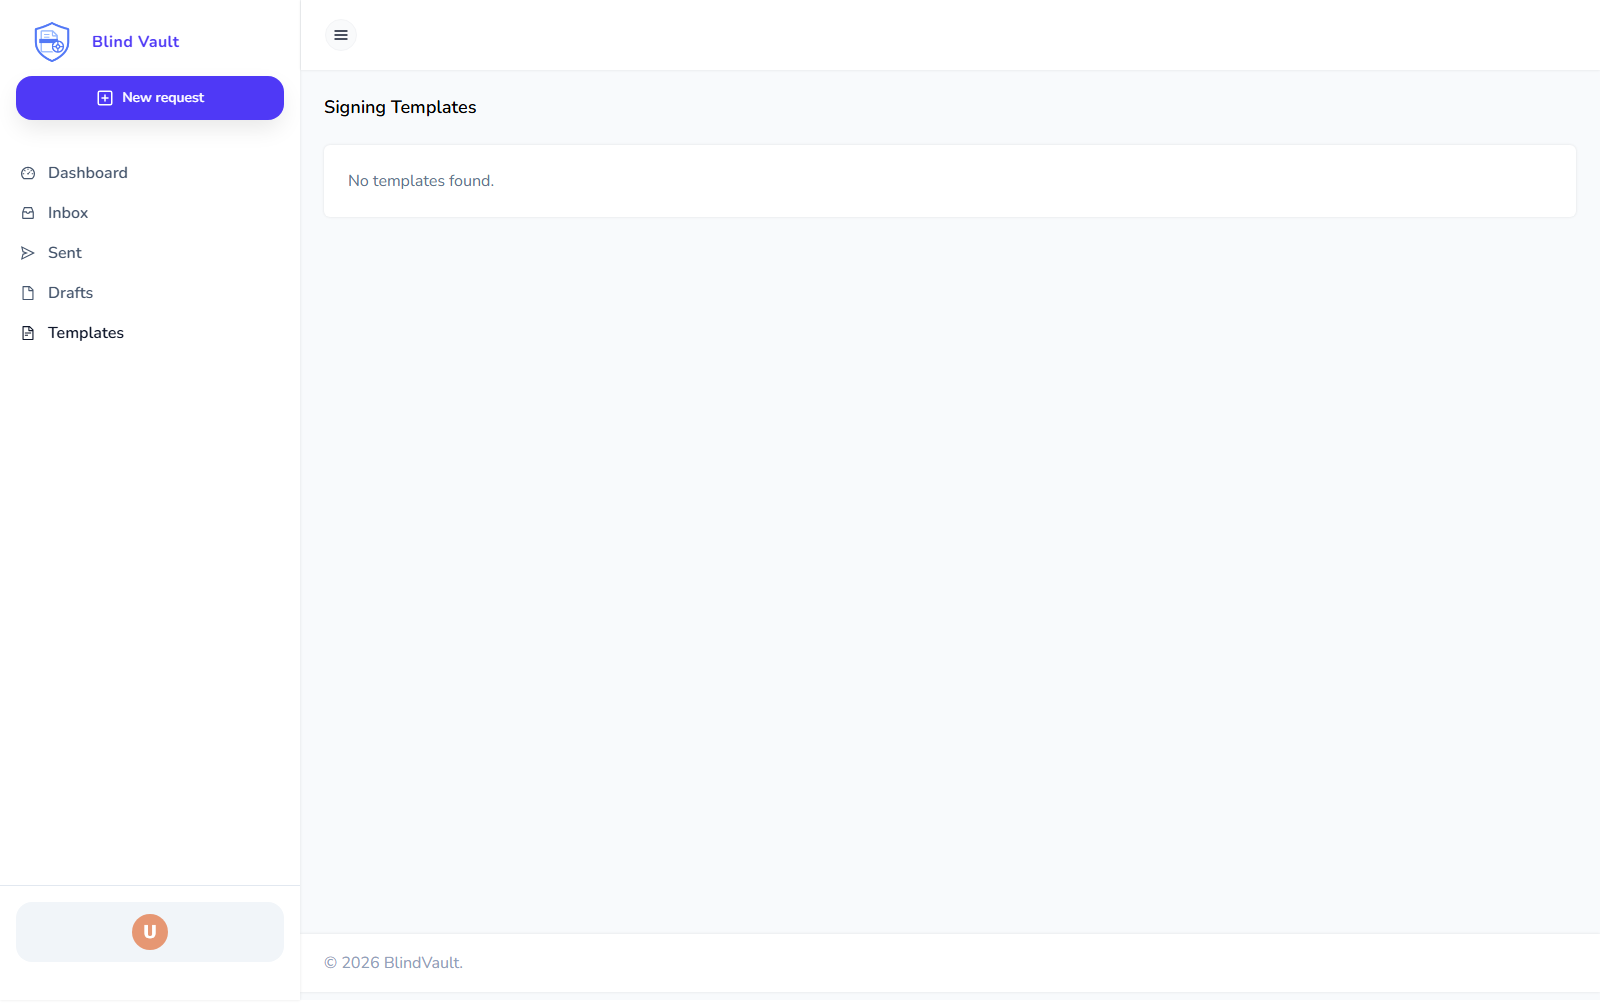
Use Templates to:
-
start a new request from a saved layout
-
reuse recipients and field setup
-
keep your process consistent
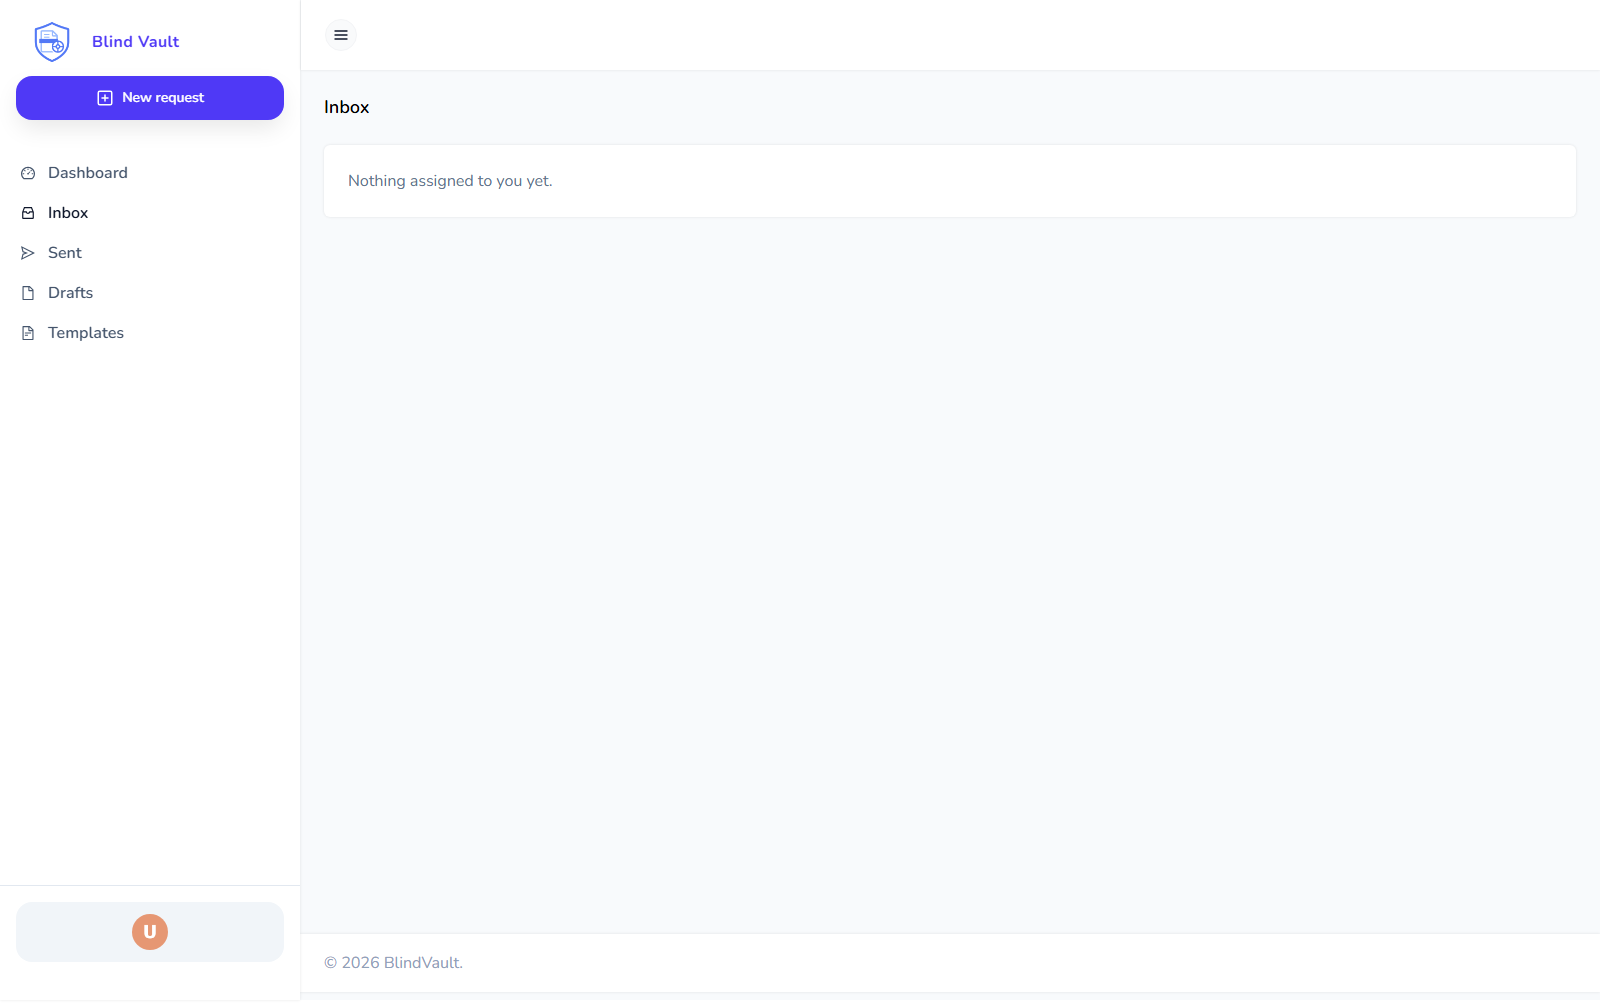
7. Inbox (Requests For You)
Inbox shows requests where you are a signer, reviewer, or observer.
Possible actions you may see:
-
View -
Sign -
Review -
Host
If Inbox says "Nothing assigned to you yet", no action is currently required from you.
When a request finishes, observer recipients are shown as Completed instead of staying Pending.
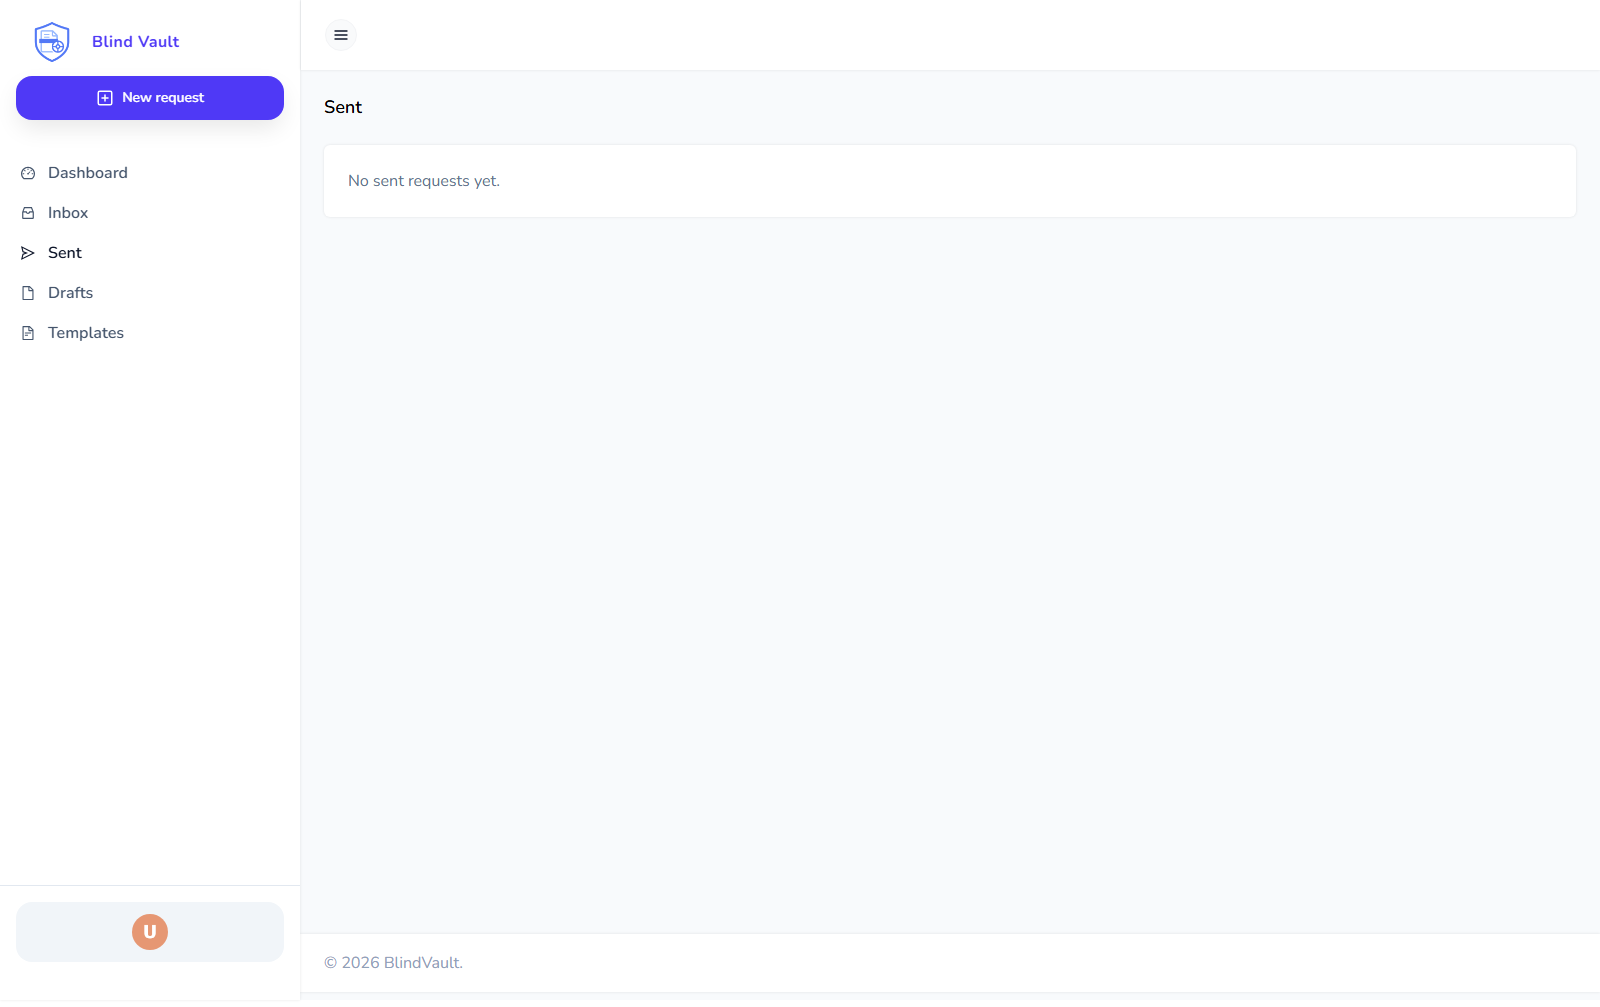
8. Sent (Requests You Created)
Sent shows requests you created.
After you send a request, BlindVault opens Sent and shows the new request there even if background loading from the previous screen is still finishing.
For each request, you may be able to:
-
open it
-
resend reminder
-
BlindVault handles pending recipient keys automatically when you sign in, and it refreshes again when invitees later upload their keys
-
sender receives an email when a late invitee uploads keys
-
invitee receives an email when access becomes ready
-
withdraw request
-
delete request
If Sent is empty, you have not sent any requests yet.
If BlindVault asks for a passphrase in a modal dialog and you cancel it, BlindVault returns you to the dashboard.
9. Signing And Reviewing (Simple Explanation)
9.1. If you are a signer
-
Open the request from Inbox.
-
Fill all required fields assigned to you.
-
Confirm and complete signing.
You may be asked for extra confirmation (for example OTP or consent) depending on signature level. When a request contains multiple documents, BlindVault keeps one continuous signing loading screen instead of restarting it for each signing API step.
9.2. If you are a reviewer
-
Open the request from Inbox.
-
Read the document.
-
Approve or reject.
-
Add a comment if needed.
9.3. If you are hosting in-person signing
-
Open
Host. -
Choose the guest signer.
-
Guide the signer to complete required fields.
-
Confirm and continue to next signer if needed.
10. Profile
Open profile from the bottom profile area in the sidebar.

On Profile data, you can update:
-
first and last name
-
profile image
-
mobile number
-
organization name
Your profile avatar now also shows a small presence badge derived from recent device activity:
-
green = active
-
amber = away
-
gray = inactive
You can also set a manual status on the profile page:
-
Available
-
Busy
-
Do not disturb
-
Away
Click Save Profile after changes.
11. Signature Cards
Open the Signature Cards tab in Profile.
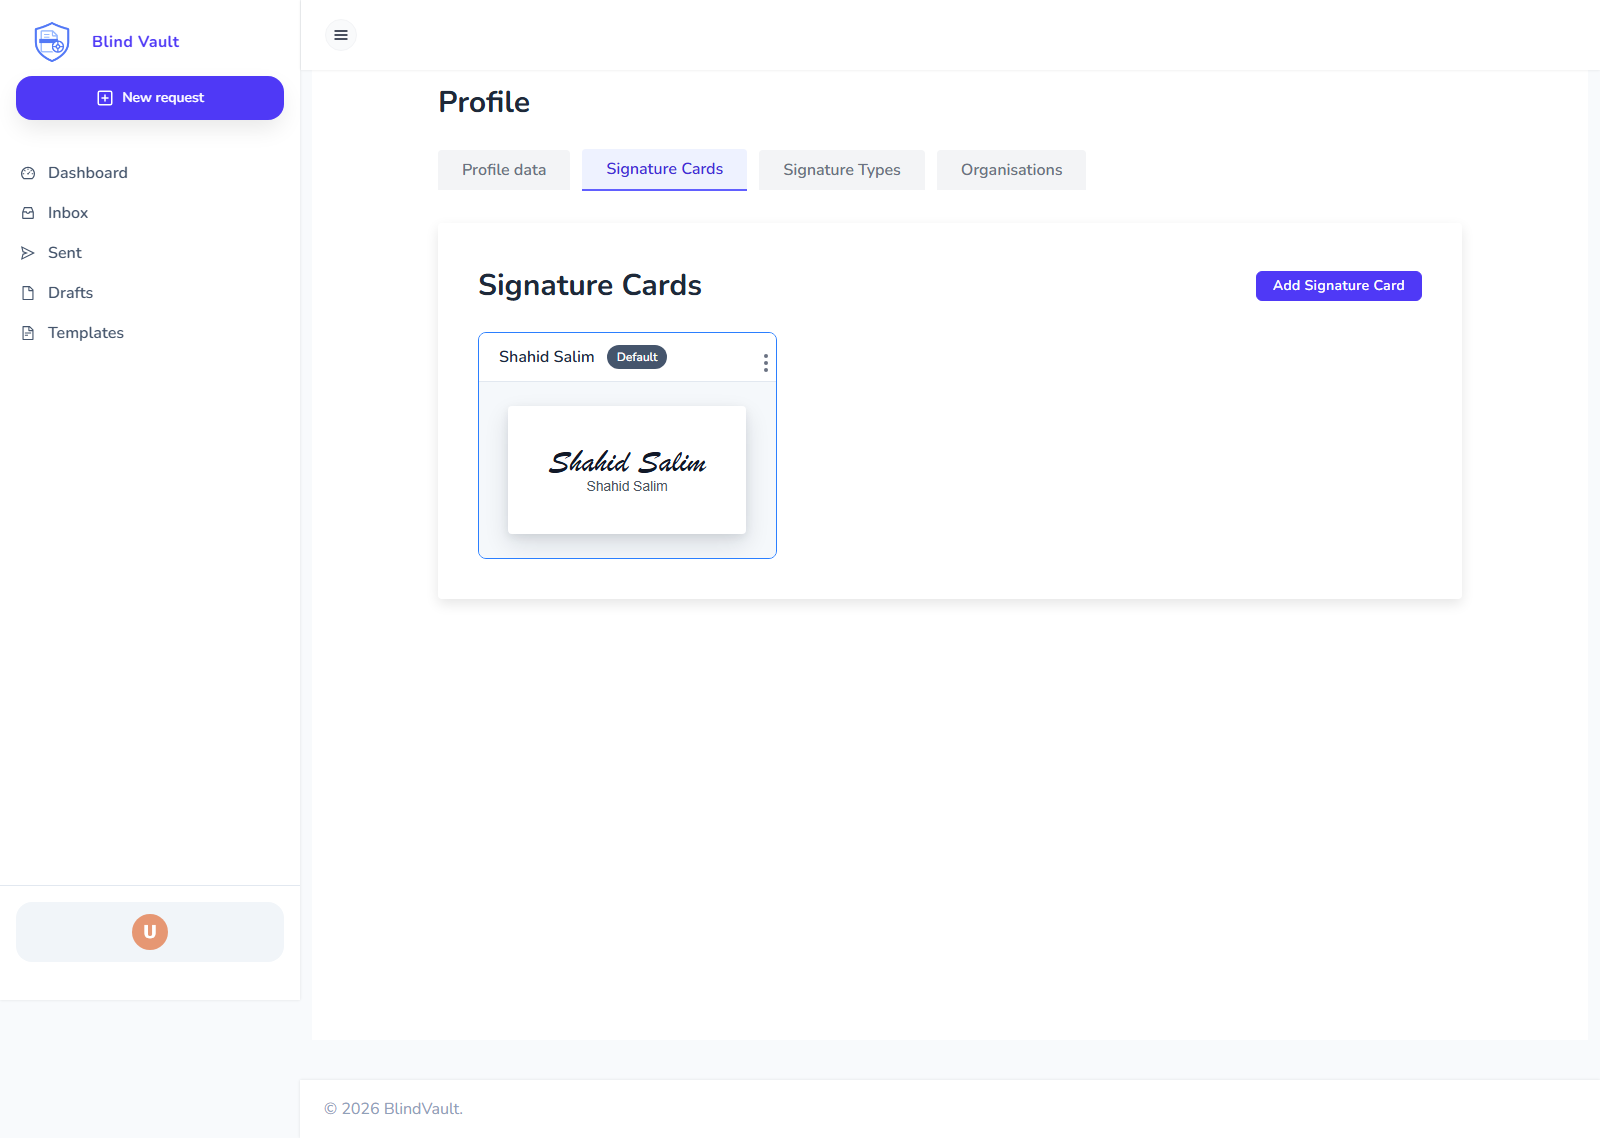
You can create, edit, and manage your visual signature card.
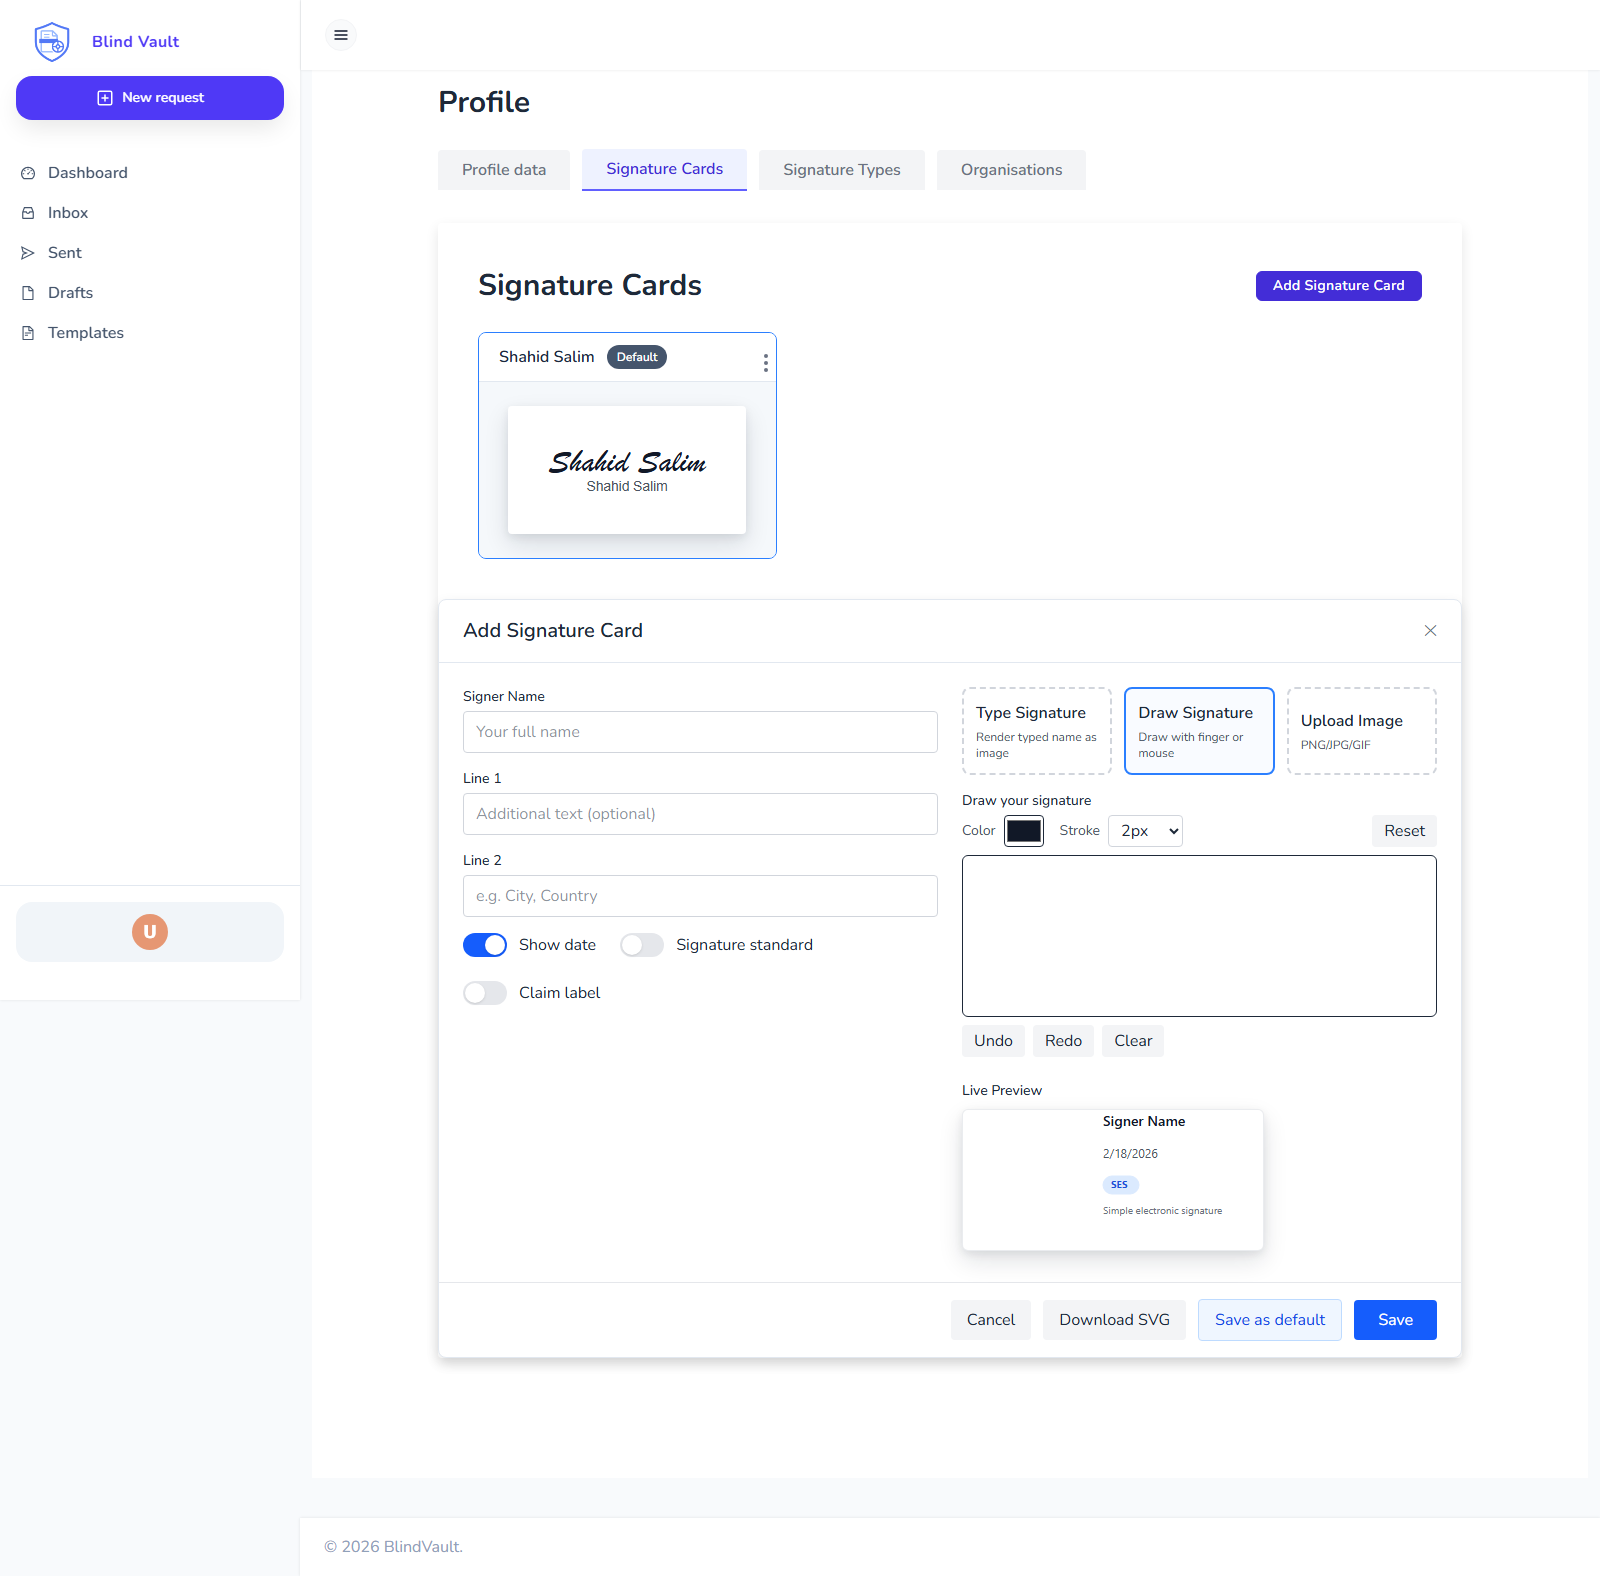
To create one:
-
Click
Add Signature Card. -
Choose one input method:
-
Type Signature
-
Draw Signature
-
Upload Image
-
-
Fill optional details (name, lines, show date, labels).
-
Click
SaveorSave as default.
To edit an existing card:
-
Open the card.
-
Click
Edit. -
Update the signer details, signature image, or toggles.
-
Click
Update Signature CardorUpdate as default.
Tip: Keep one default card active for faster signing.
12. Signature Types Tab
This tab explains available signature levels.
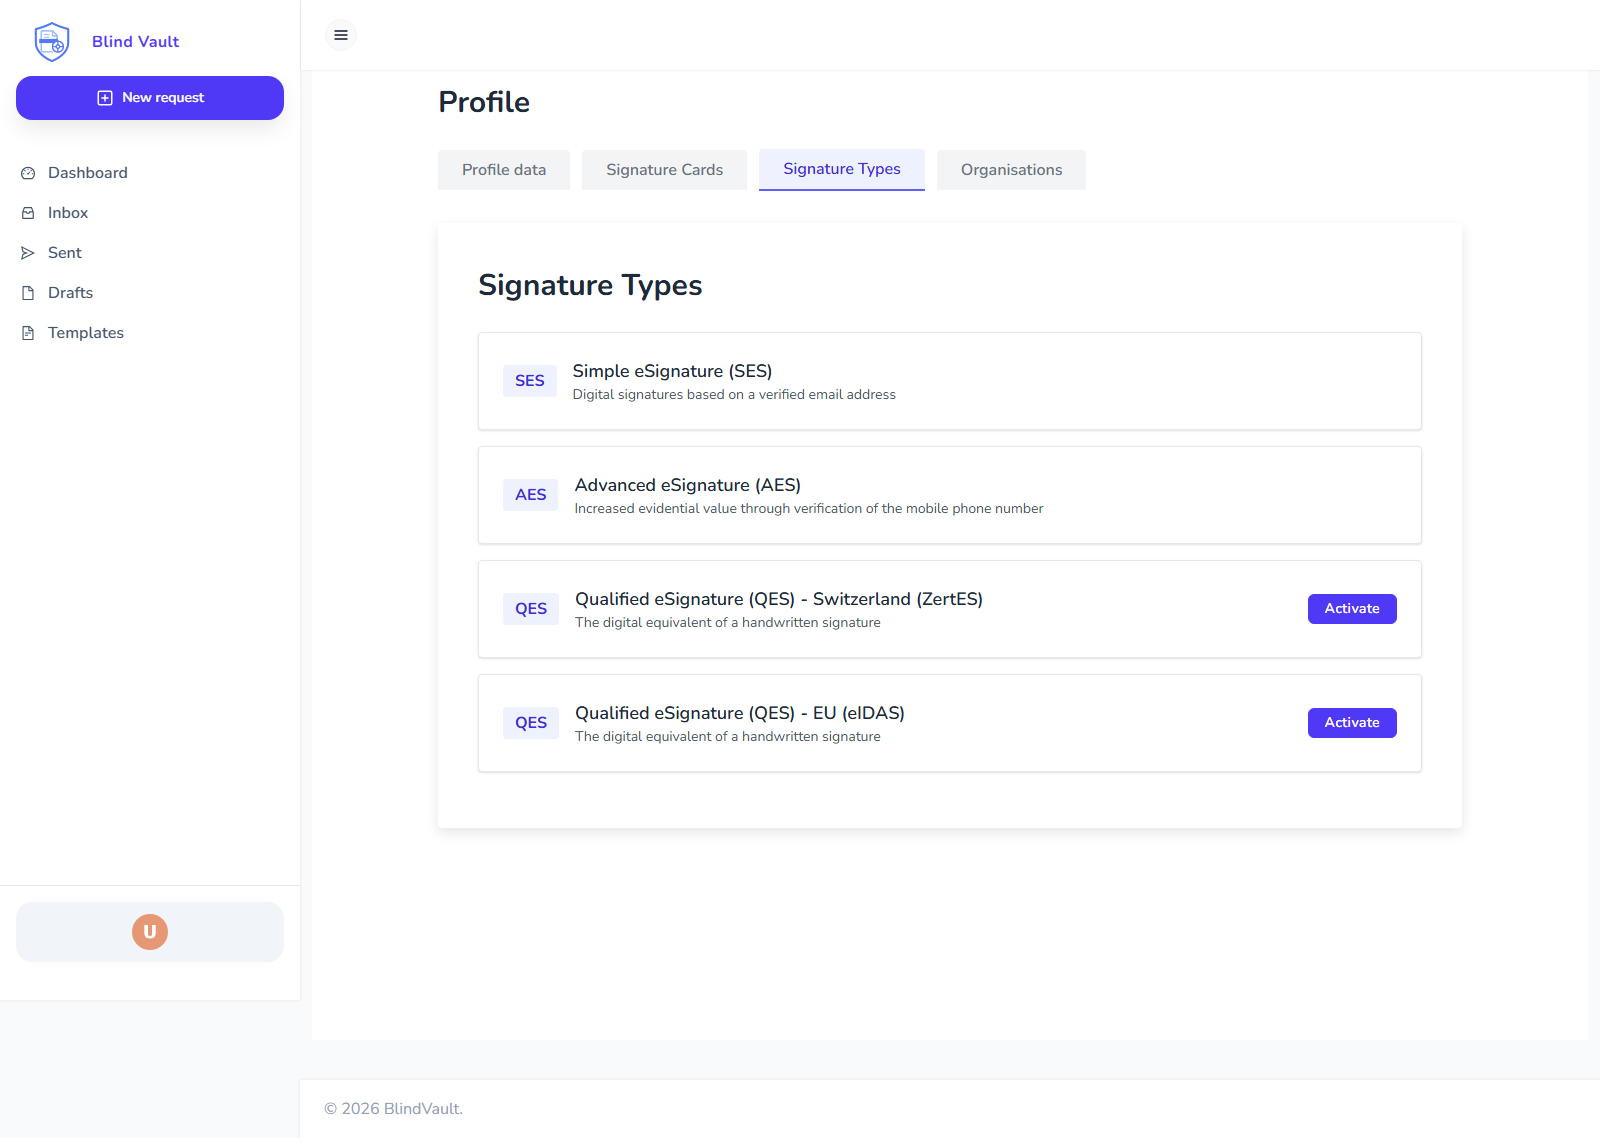
You may see SES, AES, and QES options depending on organization policy and legal region.
13. Organizations Tab
This tab shows organization memberships and invitations.
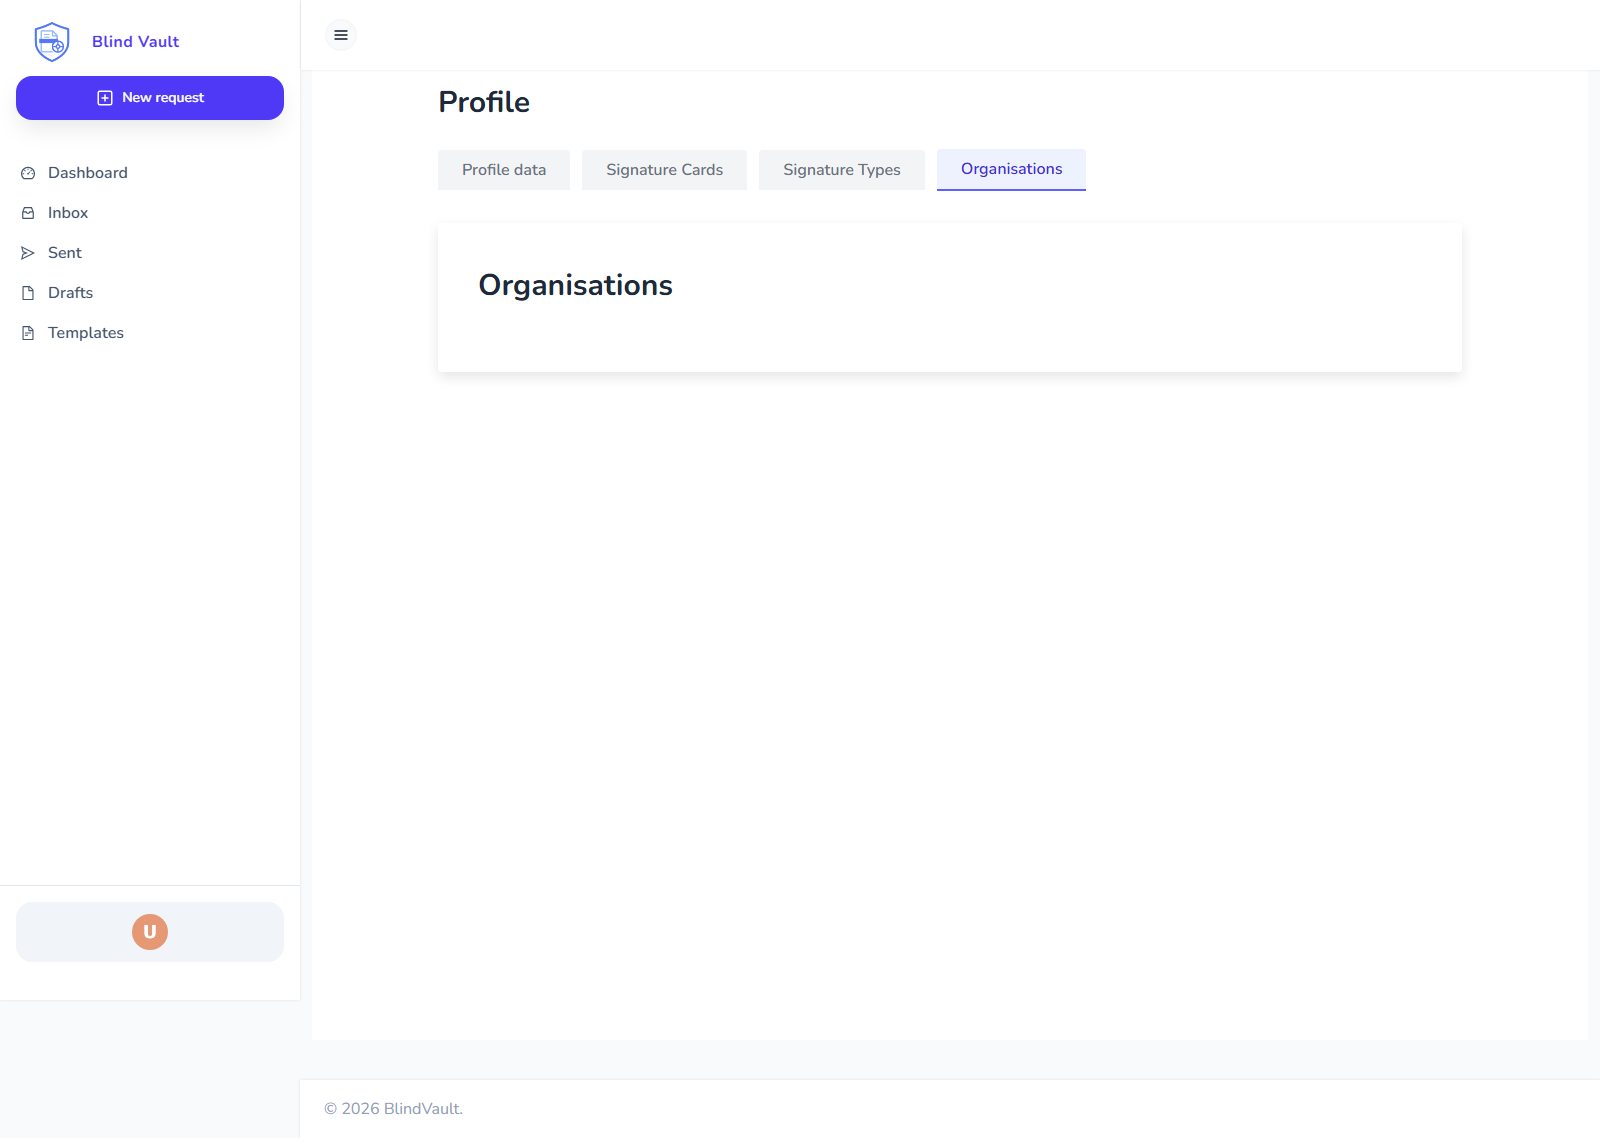
From here you can:
-
accept invitation
-
decline invitation
-
leave organization
-
use an active organization as the sender when creating and sending signing requests
Active members can send on behalf of the selected organization and consume that organization’s credits. Admin access is still only required for member and role management.
14. Members (Team Management)
Open Profile > Organisations.
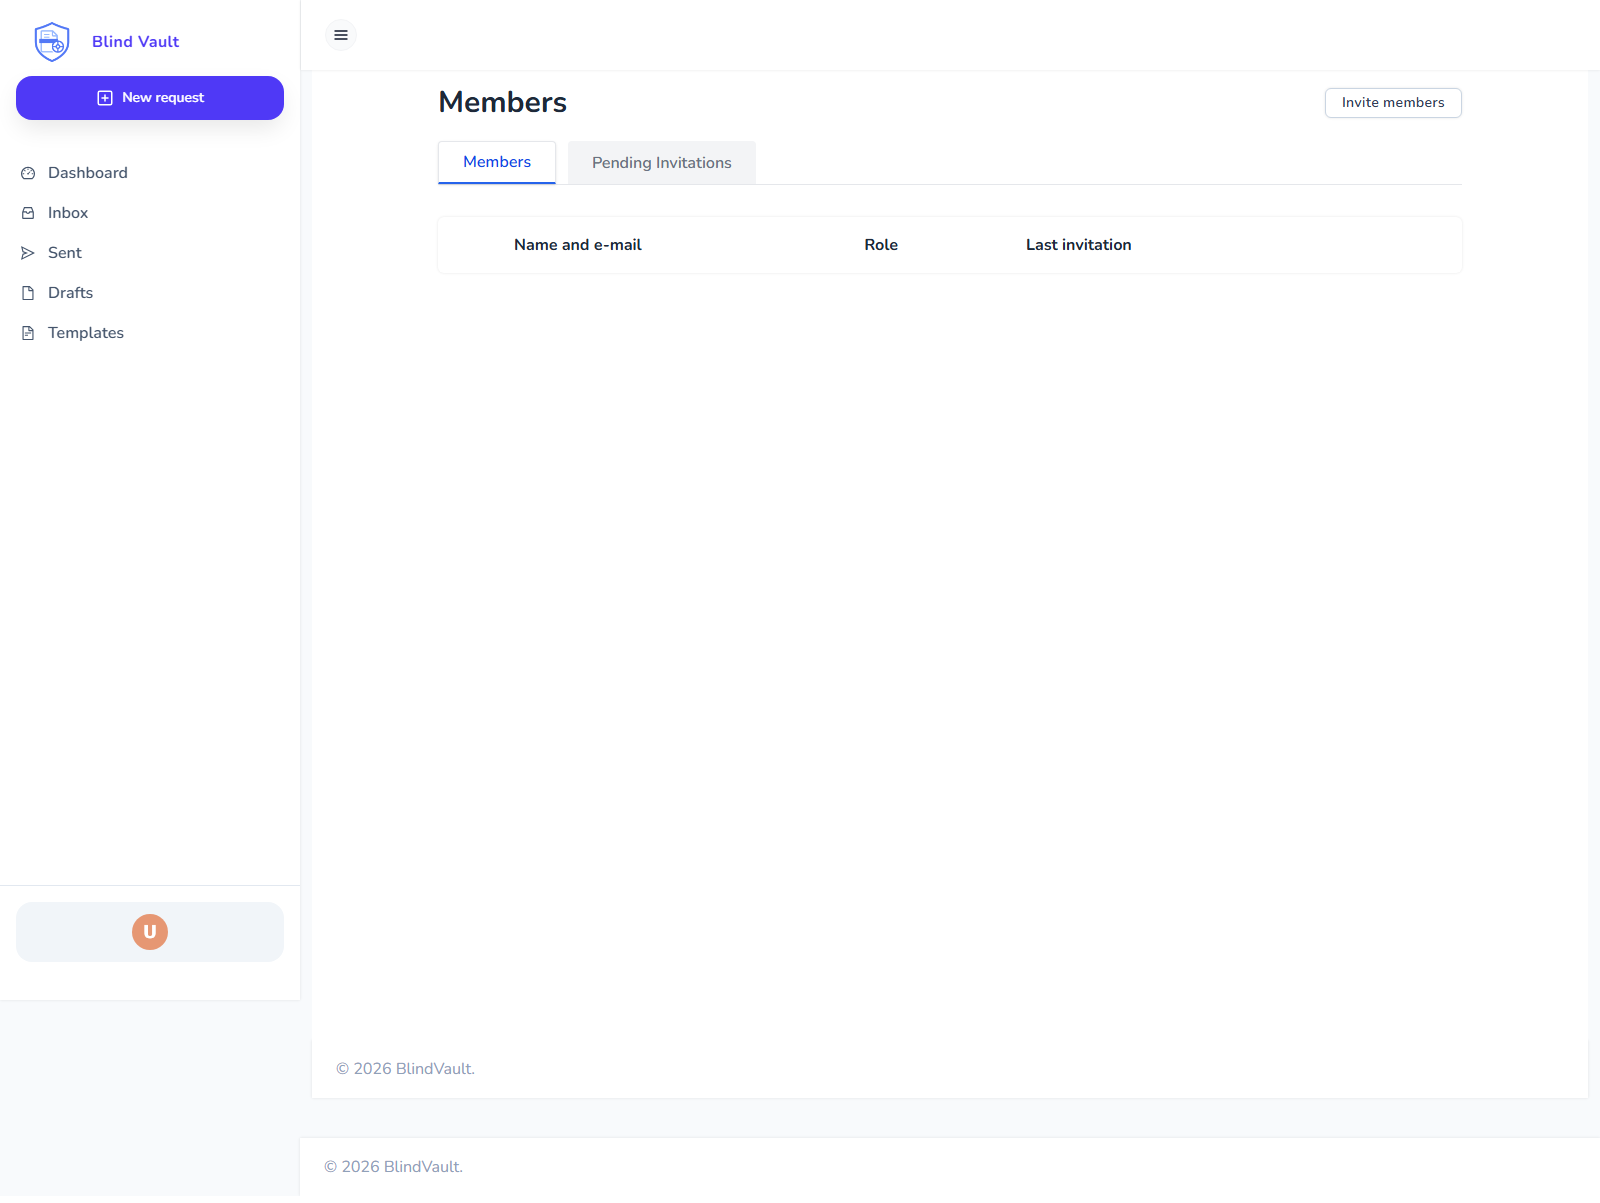
Team management (inviting members, role changes, and member removal) is available on Business and above plans.
If your plan does not include this feature, you will see an inline upgrade message with an Upgrade to Business button.
From this view you can:
-
invite members (Business+)
-
set or revoke admin roles (Business+)
-
remove members (Business+)
-
accept invitation
-
decline invitation
-
leave organization
15. Billing
Open Settings > Billing.
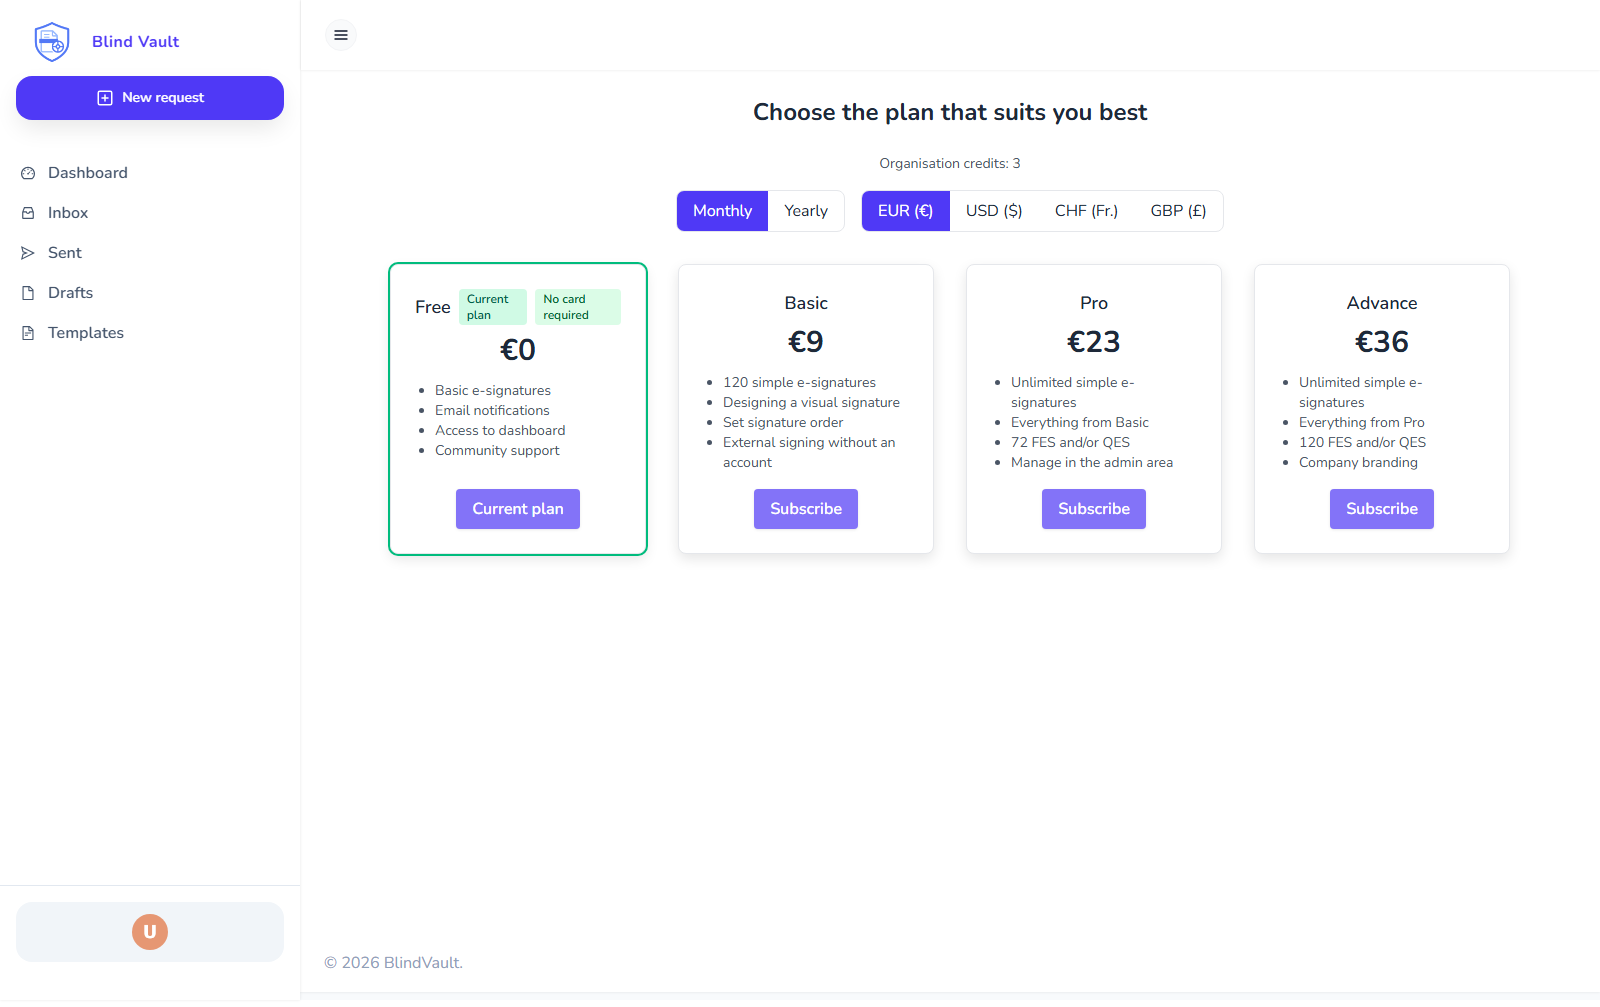
You can:
-
switch between
SignandConversationsbilling apps -
see the current plan for each app
-
compare plan levels per app
-
switch monthly/yearly view
-
choose display currency
-
start upgrade/subscribe flow for the selected app
The selected app is part of the page URL as ?module=SIGN or ?module=CONVERSATIONS, so you can bookmark a direct link to either section. Stripe checkout returns to the same app when the purchase flow completes or is canceled.
Credit behavior:
-
monthly sign credits do not roll over
-
upgrade is immediate; remaining sign credits stay and a full credit pack for the new plan is added
-
paid downgrades (including to Free) are scheduled at period end
-
if cancellation is immediate, plan switches to Free immediately and Free sign credits apply immediately
-
at each billing reset, sign credits are refreshed to the active plan amount for that cycle
Conversations is billed separately from Sign.
It uses the same tier ladder (Free, Starter, Business, Enterprise) but with channel, storage, attachment, and upload limits instead of signature-credit limits.
Conversation actions are quota-based only. Channels, messages, attachments, and file uploads do not consume credits.
16. API Keys
Open Settings > Security, then open the API keys tab.
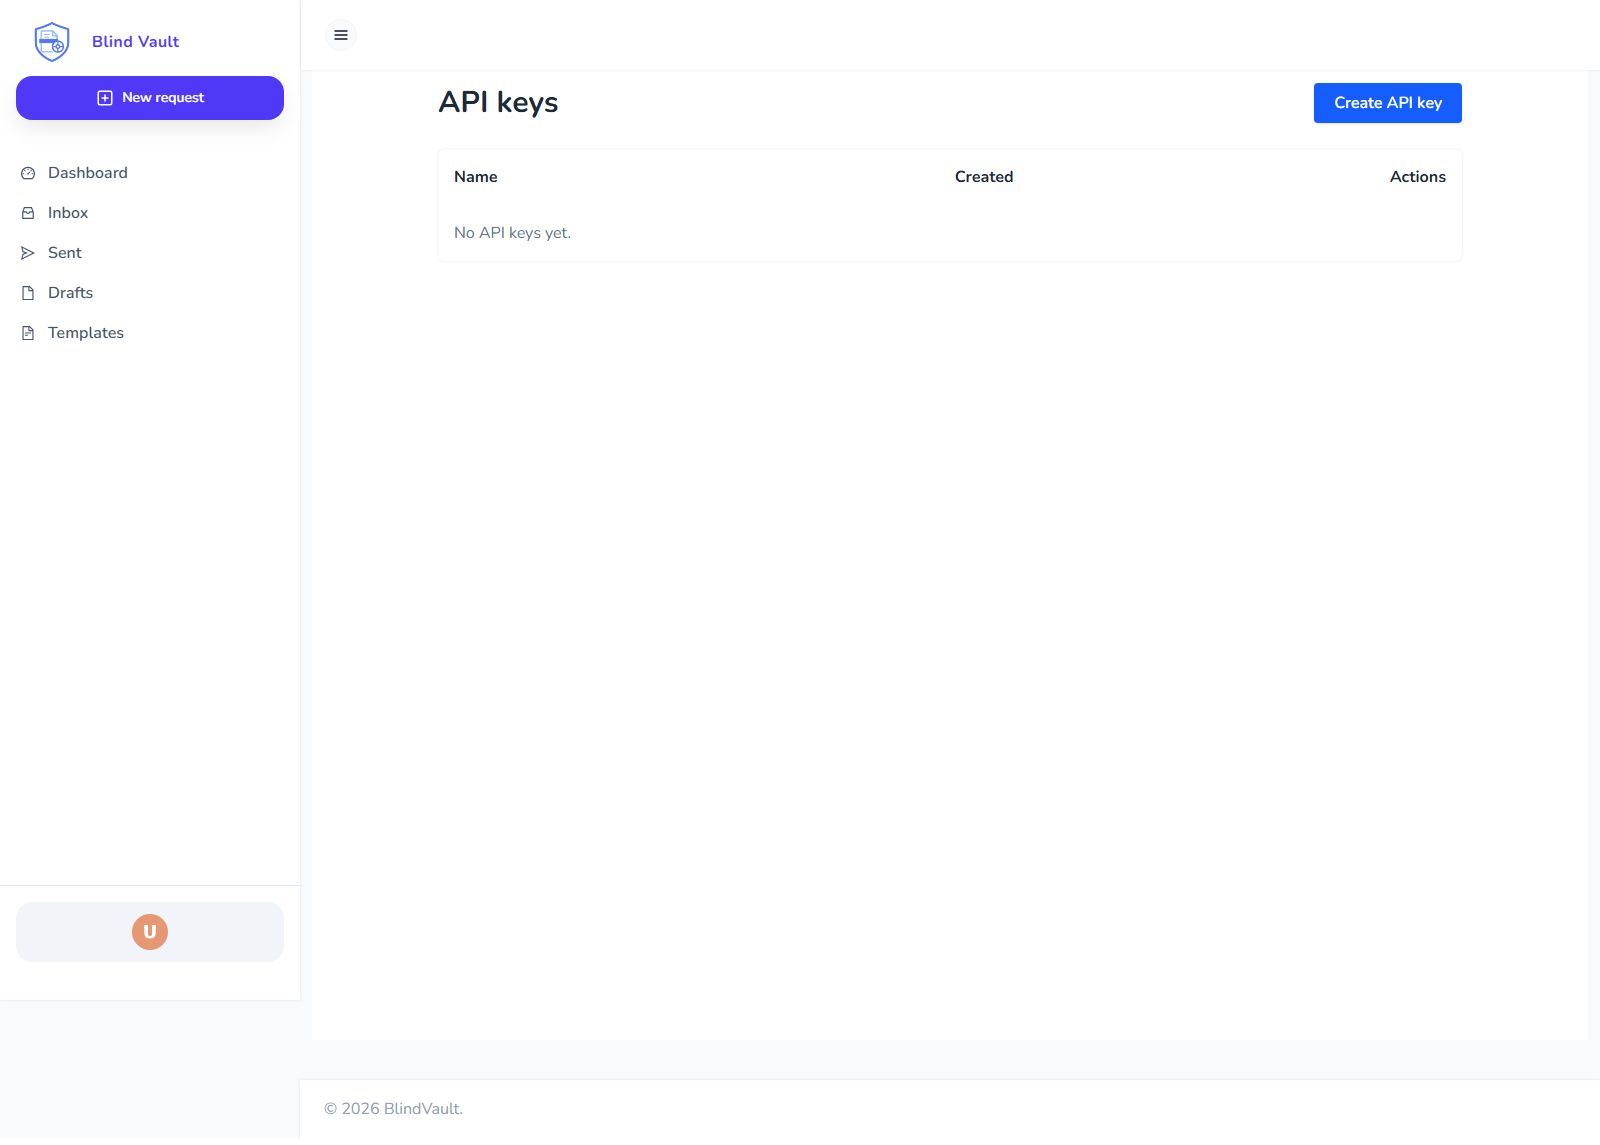
API key creation is available on Business and above plans.
If your plan does not include API access, the page shows an inline upgrade message with an Upgrade to Business button.
You can:
-
create API key (Business+)
-
copy key secret once
-
delete key
|
Warning
|
The full API key is shown only one time at creation. Copy it immediately and store safely. |
17. Webhooks
Open Settings > Webhooks.
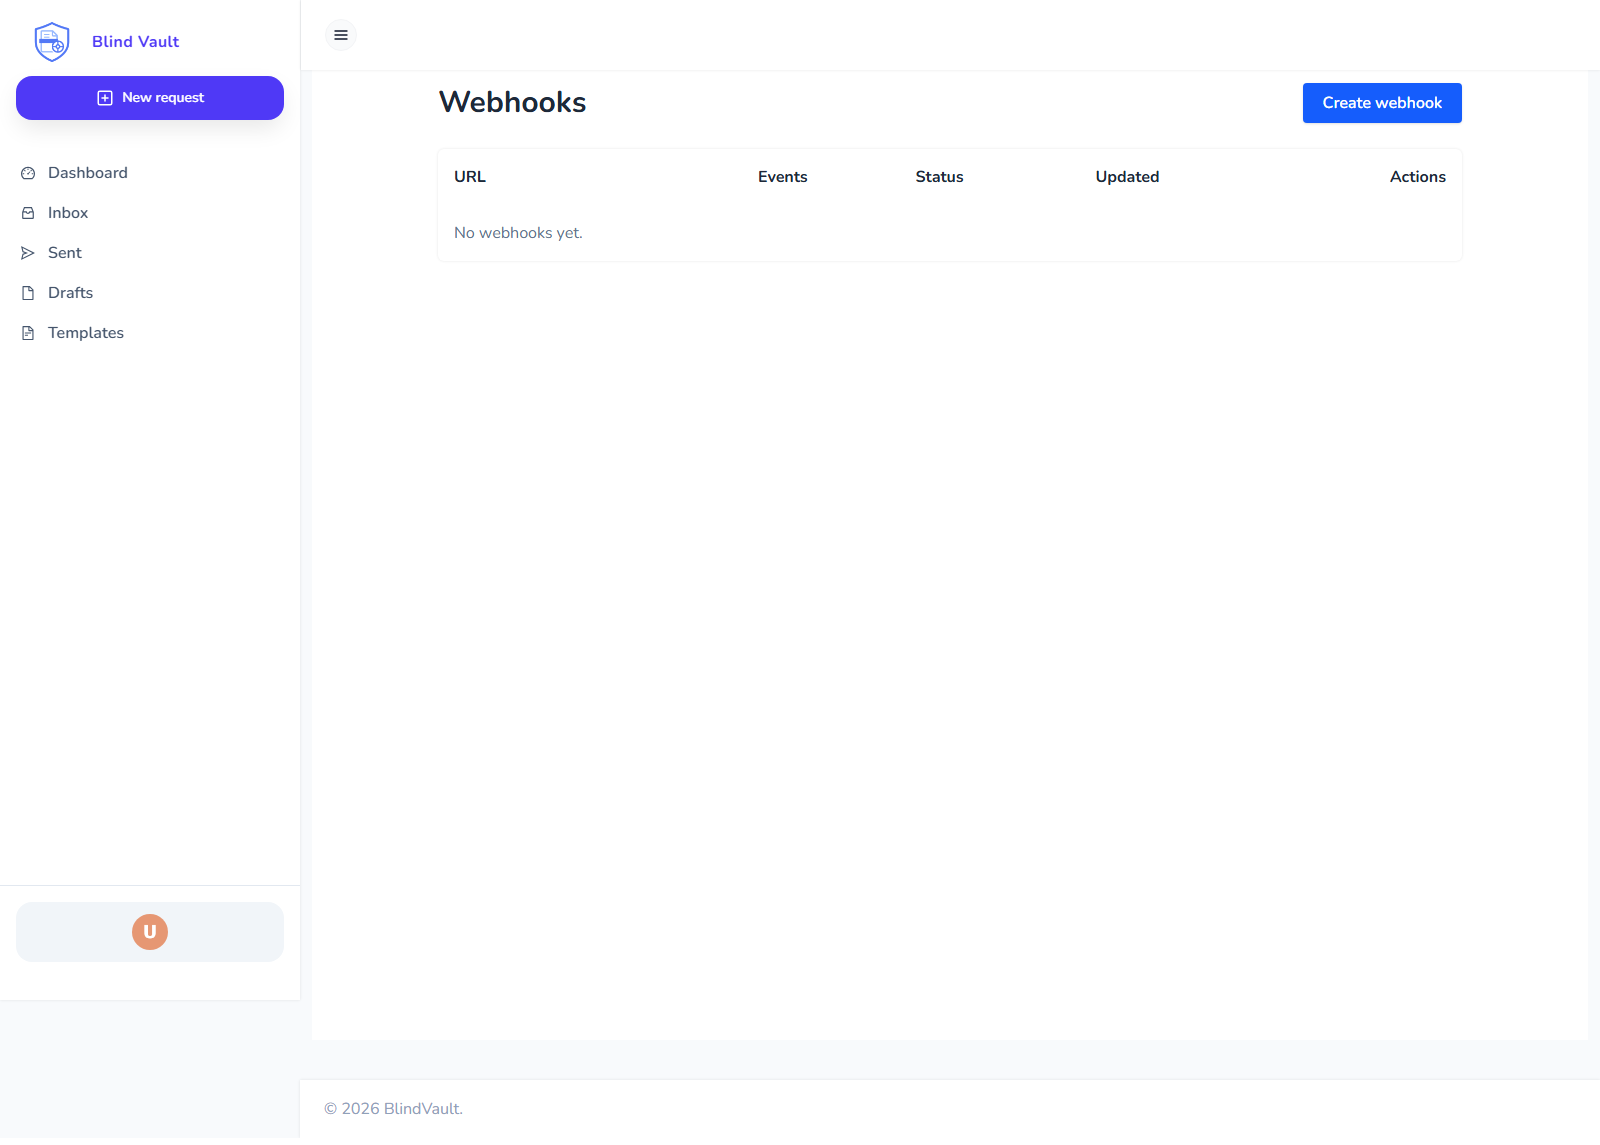
The Webhooks screen lets you switch between the Sign app and the Conversations app.
Sign webhooks are managed under /v1/sign/webhooks, and Conversations webhooks are managed under /v1/conversations/webhooks.
When BlindVault can match a webhook event to a paired agent thread, it also forwards the event to that agent as an internal plugin event. That lets agent plugins react to relevant app changes such as message deletes without polling.
Sign now also exposes key-ready events for process and recipient key readiness, alongside the existing signing lifecycle events.
The paired agent sees Sign process events using the same names as the webhook event, such as signing.process.created, signing.process.completed, and signing.process.keys-ready.
The built-in blindvault agent plugin also exposes these helpers:
| Tool | Purpose |
|---|---|
| blindvault.get_app_config | Read public app configuration |
| blindvault.get_backend_health | Read backend health/info |
| blindvault.get_process_status | Read a signing process status |
| blindvault.get_public_profile | Read a public profile by email |
| blindvault.search_public_profiles | Search public profiles |
| blindvault.get_pairing_status | Read agent pairing status |
| blindvault.get_agent_file | Read an agent file payload |
| blindvault.contact_sales | Send a sales inquiry |
| blindvault.request | Call an allowlisted public BlindVault API path |
When you use a paired local agent, agent-visible direct-message text, agent replies, readable PDF/text attachments, and signing-process metadata are indexed locally in the agent SQLite database. The same local database now stores embeddings for those indexed records, while keeping exact SQLite full-text search for names, IDs, dates, and clause wording. If an Ollama embedding model such as nomic-embed-text is available, the local agent uses it; otherwise indexing still completes with an offline fallback vectorizer. The backend still receives only encrypted message and file payloads; decrypted text and embeddings stay on the local agent machine.
You can:
-
create webhook endpoint
-
choose events
-
test delivery
-
edit endpoint
-
rotate secret
-
delete webhook
|
Warning
|
Webhook secret is shown only when created or rotated. Save it immediately. |
18. Security Settings
Open Settings > Security.
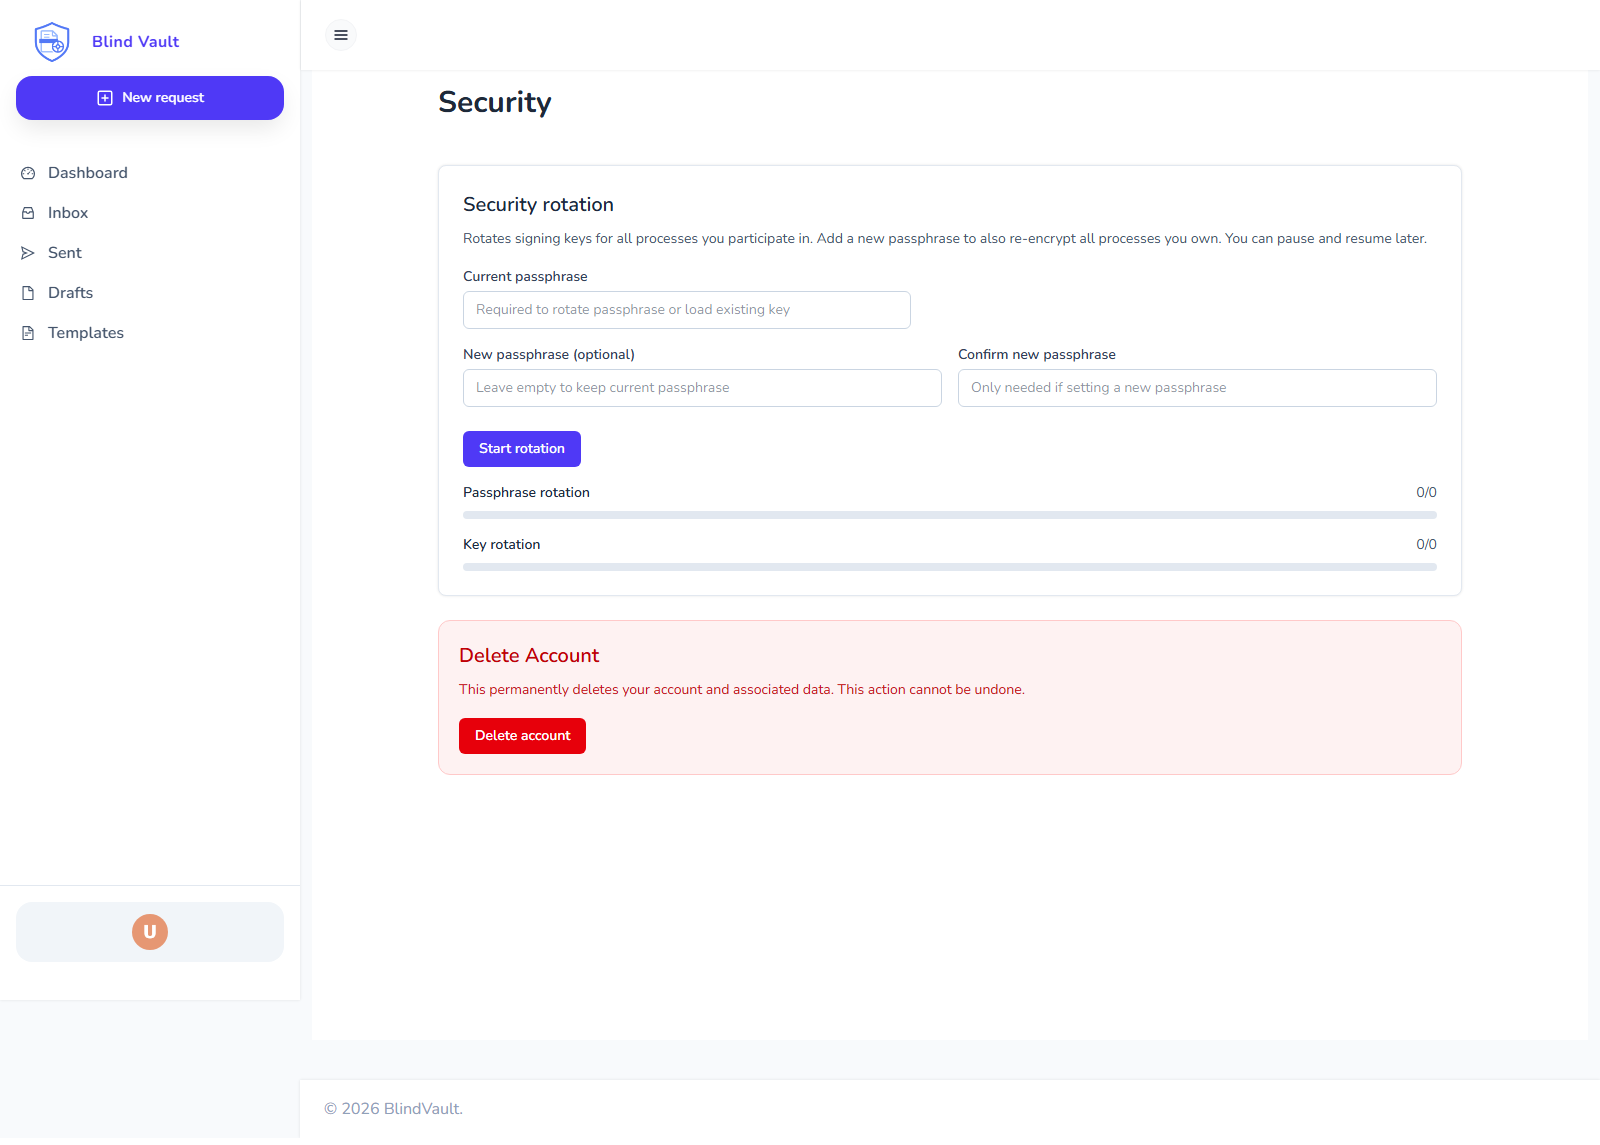
You can:
-
set key storage duration
-
rotate passphrase and keys
-
manage linked devices (revoke device, logout other devices)
-
manage API keys in the
API keystab -
resume paused rotation
-
reset rotation state
-
delete account
18.1. Linked devices
In the Linked devices tab you can:
-
view device, last seen, IP, and region (when available)
-
revoke a specific device (with confirmation)
-
logout all other devices (with confirmation)
Revoked devices stay visible for up to 30 days, then are removed automatically.
18.2. Passphrase rules
Your passphrase must:
-
be 10 to 20 characters
-
include uppercase letter
-
include lowercase letter
-
include number
-
include special character
18.3. Delete account
Account deletion is permanent and cannot be undone.
19. Quick Troubleshooting
19.1. I cannot see Sign or Review button
-
Check you are logged in with the invited email address.
-
Ask sender to resend the invitation.
-
Refresh the page and open Inbox again.
-
If BlindVault shows an access or error page, read the explanation shown there. BlindVault may include a safe backend reason such as withdrawn request or missing access.
19.2. My Inbox is empty
This usually means no request is currently assigned to your account.
19.3. I cannot open old encrypted request
Use your own key passphrase (not the sender’s passphrase) to unlock your private key. If you are a newly registered invitee and access is pending, sign out and sign in again first. BlindVault handles pending keys automatically on login. If access is still pending after that, wait for the sender to resend or upload their keys and then sign out and sign in again. If your passphrase or key was rotated recently, sign out and sign in again.
19.4. My webhook/API integration stopped
If key/secret was rotated or deleted, update your integration config with the new value.
20. Best Practices For Normal Daily Use
-
Save draft first for important documents.
-
Use templates for recurring workflows.
-
Keep one default signature card.
-
Keep your mobile number up to date for secure signing steps.
-
Remove old API keys you no longer use.
-
Rotate security settings periodically.
21. Quick Start (2-Minute Version)
-
Click
New request. -
Upload PDF.
-
Add signer(s).
-
Place signature fields.
-
Send request.
-
Track progress in
Sent. -
When requests come to you, act from
Inbox.